Reclaimed Wood Flooring Installation Guide
Installing reclaimed wood flooring requires different techniques than working with new lumber due to variations in dimensions, moisture content, and surface condition. Successful installation balances preserving authentic character with achieving stable, functional floors. Understanding proper preparation, acclimation, fastening methods, and finishing techniques ensures reclaimed flooring performs well for decades. Whether tackling DIY installation or hiring professionals, knowledge of these specialized requirements prevents costly mistakes and disappointing results.
Material Selection and Preparation
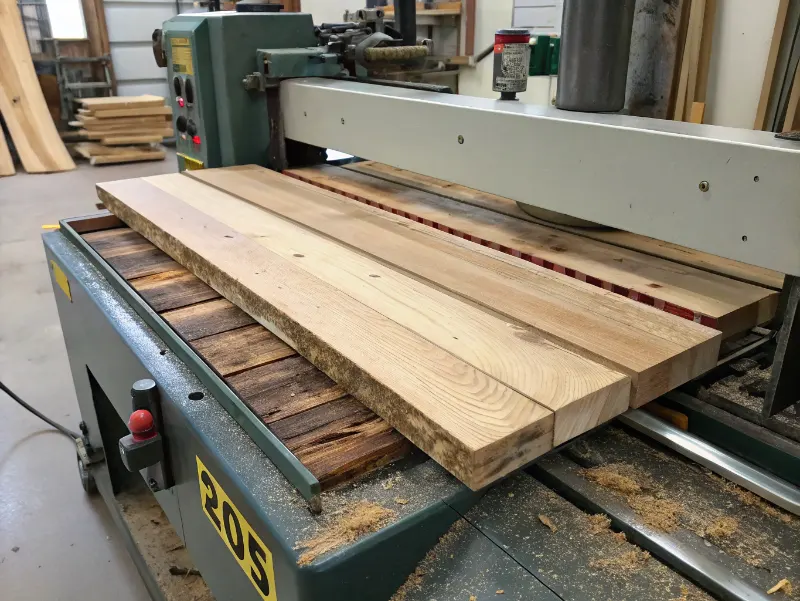
Choose reclaimed flooring based on species, thickness, and condition appropriate for your space. Inspect carefully for structural soundness, active insect damage, and adequate milling dimensions. Most reclaimed lumber requires additional processing including denailing, planing, and milling tongue-and-groove profiles if not already present.
- Verify boards have minimum three-quarter inch thickness after planing to accommodate installation and future refinishing
- Remove all nails, screws, and metal fasteners using metal detectors and careful extraction to prevent equipment damage
- Mill boards to consistent thickness and width, creating tongue-and-groove edges for proper interlocking
- Sort pieces by color and character, planning layout to achieve desired aesthetic distribution
- Set aside damaged sections for cutting boards or shorter runs in closets and transitions
Acclimation and Subfloor Requirements
Proper acclimation prevents gaps, cupping, and buckling after installation. Reclaimed wood often has different moisture content than new lumber, requiring extended adjustment periods.
| Climate Zone | Acclimation Period | Target Moisture Content |
|---|---|---|
| Humid regions | 2-3 weeks | 9-12% |
| Moderate climates | 1-2 weeks | 7-9% |
| Dry climates | 2-4 weeks | 6-8% |
| Heated/cooled spaces | 3 weeks minimum | 6-9% |
"Patience during acclimation prevents the heartbreak of beautiful floors that gap, cup, or buckle months after installation when wood finally adjusts to interior conditions."
Subfloors must be flat, dry, and structurally sound. Address any unevenness exceeding one-eighth inch over ten feet by sanding high spots or filling low areas with leveling compound.
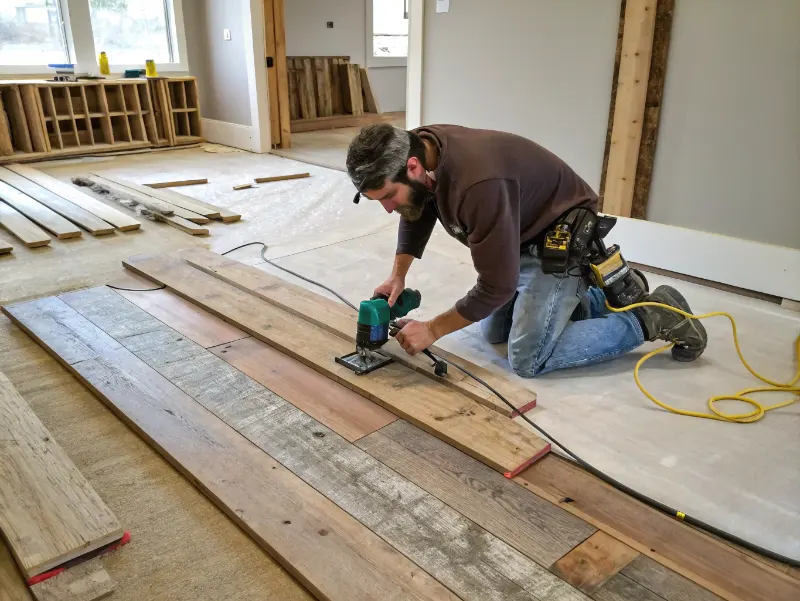
Installation and Finishing
Fasten reclaimed flooring using appropriate methods for your subfloor type—blind-nail hardwood over wood subfloors or use adhesive over concrete. Maintain consistent expansion gaps at all perimeter walls. After installation, sand floors progressively from coarse to fine grits, removing old finish and evening surface variations. Apply penetrating oil or polyurethane finish based on desired appearance and durability requirements, following manufacturer specifications for application and cure times.